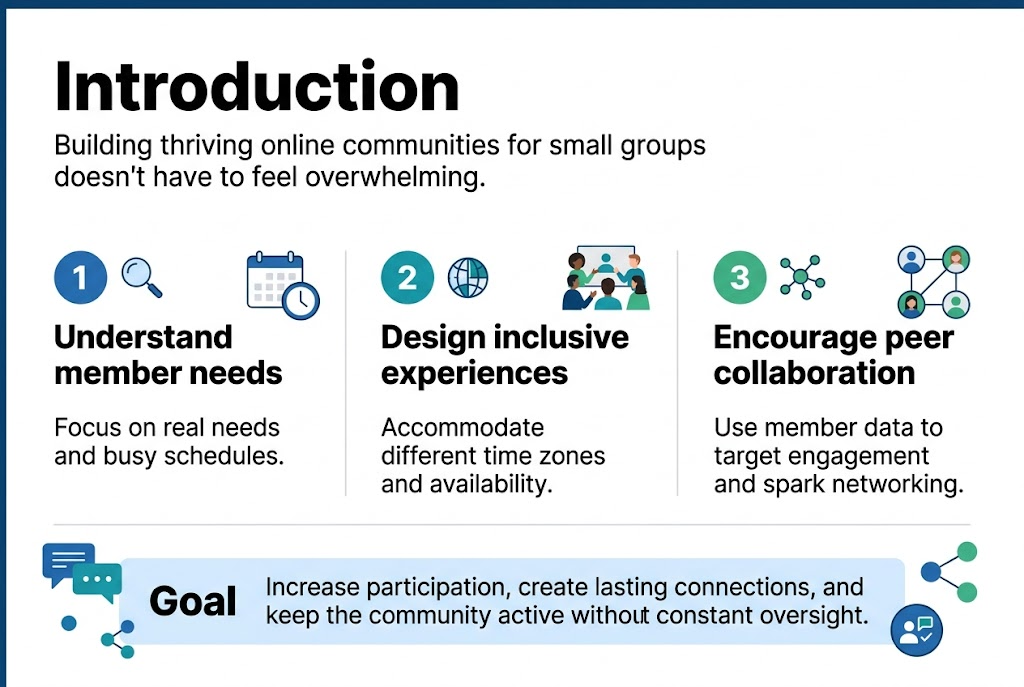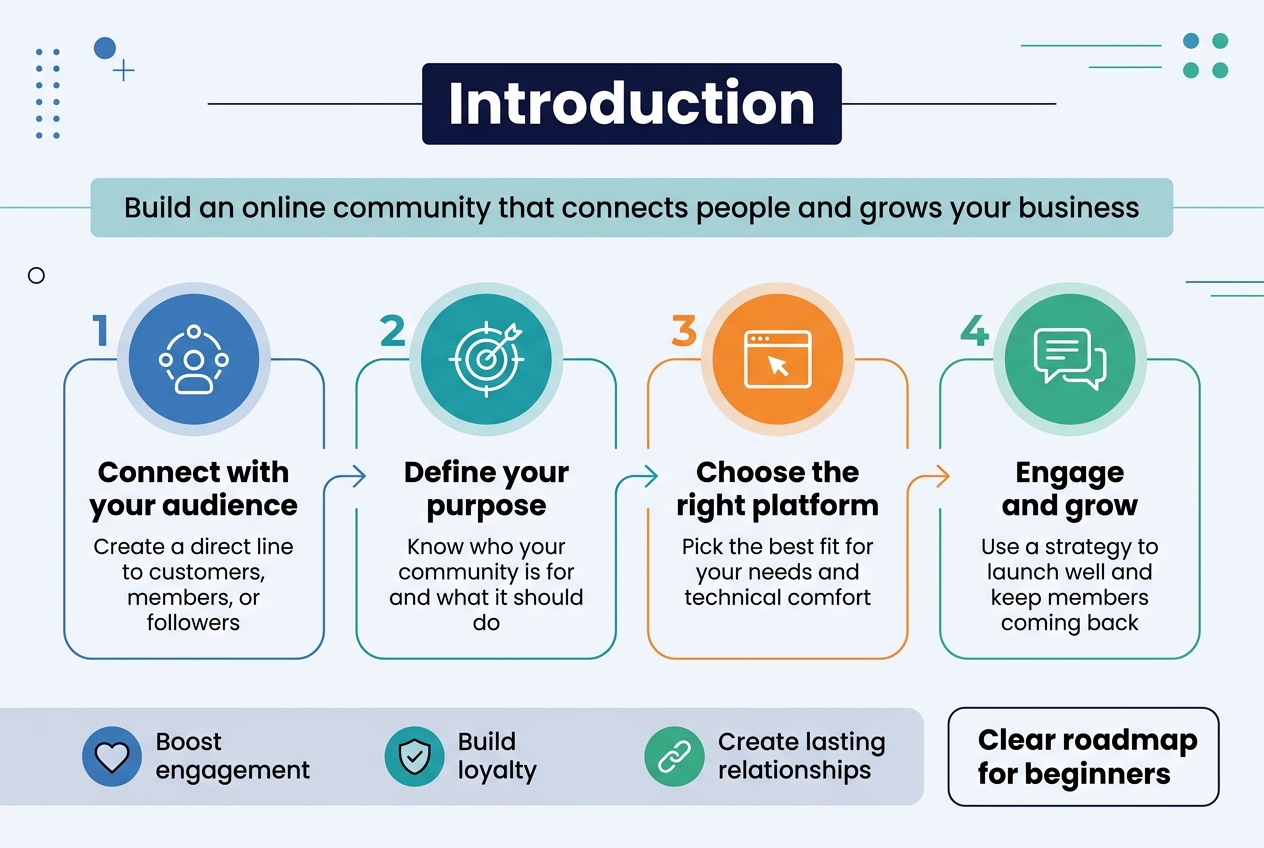
Building an online community might sound complicated, but it’s one of the smartest moves you can make for connecting with your audience and growing your business. This step-by-step guide is designed for beginners who want to create their first online community without getting overwhelmed by technical details or complex strategies.
An online community gives you a direct line to your customers, members, or followers while creating a space where they can connect with each other. Whether you’re running a small business, managing a nonprofit, or leading an association, the right community can boost engagement, improve customer loyalty, and create lasting relationships that benefit everyone involved.
In this guide, you’ll learn how to define your community’s purpose and choose the right platform for your needs. We’ll also walk you through developing an engagement strategy that keeps members coming back and show you practical ways to launch successfully and maintain long-term growth. By the end, you’ll have a clear roadmap for building an online community that actually works for your goals and your audience.
Define Your Community’s Purpose and Target Audience
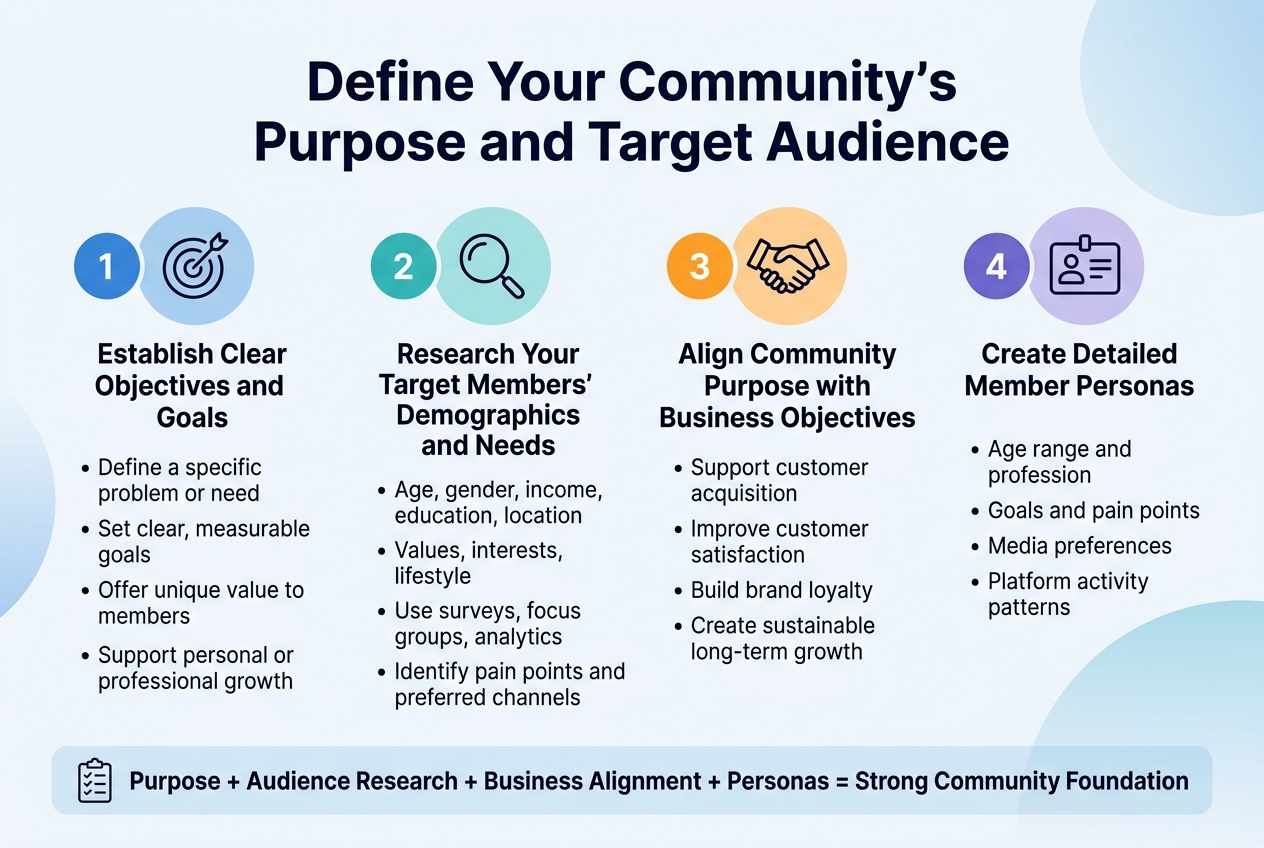
Establish Clear Objectives and Goals
Before launching your online community, you must clearly define what you want to achieve and establish specific, measurable objectives. Your community’s purpose should address a particular problem or need, such as providing support for new parents, connecting tech enthusiasts, or bringing together sustainable living advocates. Consider what unique value your community will offer and how it will benefit members’ lives or professional development.
Research Your Target Members’ Demographics and Needs
Understanding your target audience requires thorough research into their demographics, psychographics, and behavioral patterns. Analyze factors such as age, gender, income level, education, and location, alongside deeper characteristics like values, interests, and lifestyle preferences. Use surveys, focus groups, and online analytics tools to gather insights into their pain points, content consumption habits, and preferred communication channels.
Align Community Purpose with Business Objectives
Your online community should directly support your broader business goals while providing genuine value to members. Whether you’re aiming to improve customer acquisition, enhance customer satisfaction, or promote brand loyalty, ensure your community purpose aligns with these objectives. This alignment helps justify resource investment and creates a sustainable foundation for long-term growth.
Create Detailed Member Personas
Develop comprehensive buyer personas that represent your ideal community members by combining demographic data with behavioral insights. Include specific details such as age range, profession, goals, pain points, media consumption preferences, and platform activity patterns. These personas should capture not only who your members are but also what motivates them to join and engage within your community.
Evaluate Platform Features and Ease of Use
When building your online community, selecting the right platform is crucial for long-term success. Video-centric platforms like Swarm prioritize face-to-face asynchronous communication, offering features like automatic captions, AI-powered transcriptions, and interactive video responses that create authentic human connections. Traditional platforms like Mighty Networks focus on high-engagement tools including polls, quizzes, and flexible community organization structures.
Consider Integration Capabilities with Existing Tools
Modern community platforms offer essential integrations to streamline your workflow and member management. Look for platforms with Stripe integration for seamless payment processing, Zapier connectivity for automation, and API access for custom solutions. Platforms like Swarm include built-in course creation, live streaming capabilities, and branded digital stores, reducing the need for multiple separate tools.
Assess Customization and Branding Options
Successful communities require strong branding to establish identity and trust. Premium platforms offer full white-labeling capabilities, allowing you to add custom domains, branded mobile apps, and personalized color schemes. Advanced customization options include design blocks, CMS models, and theming controls that enable complete visual control over your community’s appearance and user experience.
Test Platforms Before Making Final Decision
Most reputable community platforms provide free trials, typically 14 days, allowing you to thoroughly evaluate features before committing. During testing, focus on user interface navigation, video quality, member engagement tools, and administrative capabilities. Compare pricing structures, transaction fees, and member limits across platforms like Circle.so ($89-$199/month), Mighty Networks ($79-$354/month), and Swarm ($19-$149/month) to find the best fit for your budget and growth plans.
Plan Your Community Structure and Framework
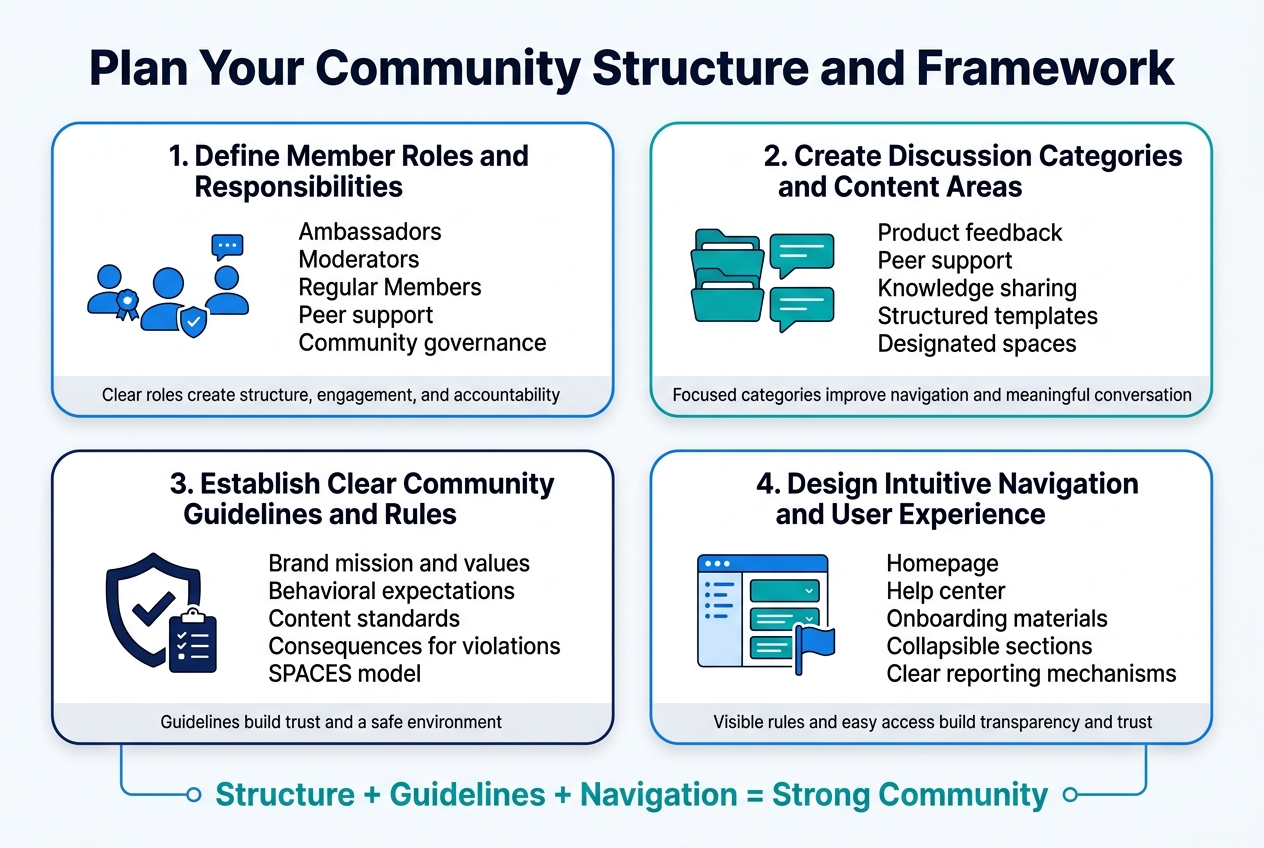
Define Member Roles and Responsibilities
Now that we have covered platform selection, establishing clear member roles creates structure that drives engagement and accountability. Define specific roles such as ambassadors, moderators, and regular members, with each having distinct responsibilities for content creation, peer support, and community governance. Successful communities like Salesforce’s Trailblazer Community thrive because members understand how they can contribute through mentoring others and sharing best practices within clear boundaries.
Create Discussion Categories and Content Areas
With member roles established, organizing your community into focused discussion categories ensures meaningful conversations and easy navigation. Structure content areas around your community’s purpose – whether product feedback, peer support, or knowledge sharing. Platforms like Airbnb and Asana succeed by guiding contributions through structured templates and designated spaces, preventing unstructured discussions while encouraging valuable user-generated content that aligns with community goals.
Establish Clear Community Guidelines and Rules
Creating comprehensive community guidelines serves as the foundation for building trust and maintaining a safe environment for all members. Your guidelines should reflect your brand’s mission and values while setting clear behavioral expectations, content standards, and consequences for violations. Use frameworks like the SPACES model to anchor guidelines in specific outcomes – from encouraging peer-to-peer support to defining how members can share feedback constructively.
Design Intuitive Navigation and User Experience
Previously, I’ve emphasized the importance of structure and guidelines, but equally crucial is making these elements easily accessible through intuitive navigation. Ensure community guidelines are prominently displayed in high-traffic areas such as the homepage, help center, and onboarding materials. Consider using visual formatting like collapsible sections and clear reporting mechanisms that empower members to help uphold community standards, creating transparency that builds member trust in the system.
Create a Content Calendar and Posting Schedule
Now that you’ve established your community structure, developing a strategic content approach becomes essential for sustained engagement. Content creation forms the core of community management work, requiring deliberate choices about content elements and design features. When skillfully crafted content combines into coordinated campaigns, you significantly increase member engagement while offering multiple participation modes.
Plan Various Content Types and Interactive Elements
With content strategy foundations in place, focus on creating community-engaged content that welcomes new members and fosters belonging. Effective content design incorporates diverse formats including invitations, social media updates, curated web pages, and scaffolding materials. This variety helps lower barriers to participation while supporting different engagement preferences within your online community.
Design Member Recognition and Reward Systems
Building on your content foundation, implementing recognition systems reinforces community values and shared purpose. Strategic member acknowledgment through various content types strengthens engagement and encourages continued participation across your platform.
Establish Moderation and Community Management Protocols
Previously established content strategies require supportive moderation frameworks to maintain quality standards. Effective community management protocols ensure your content maintains its intended voice and tone while fostering the collaborative environment essential for long-term growth and member satisfaction.
Launch Your Community Successfully
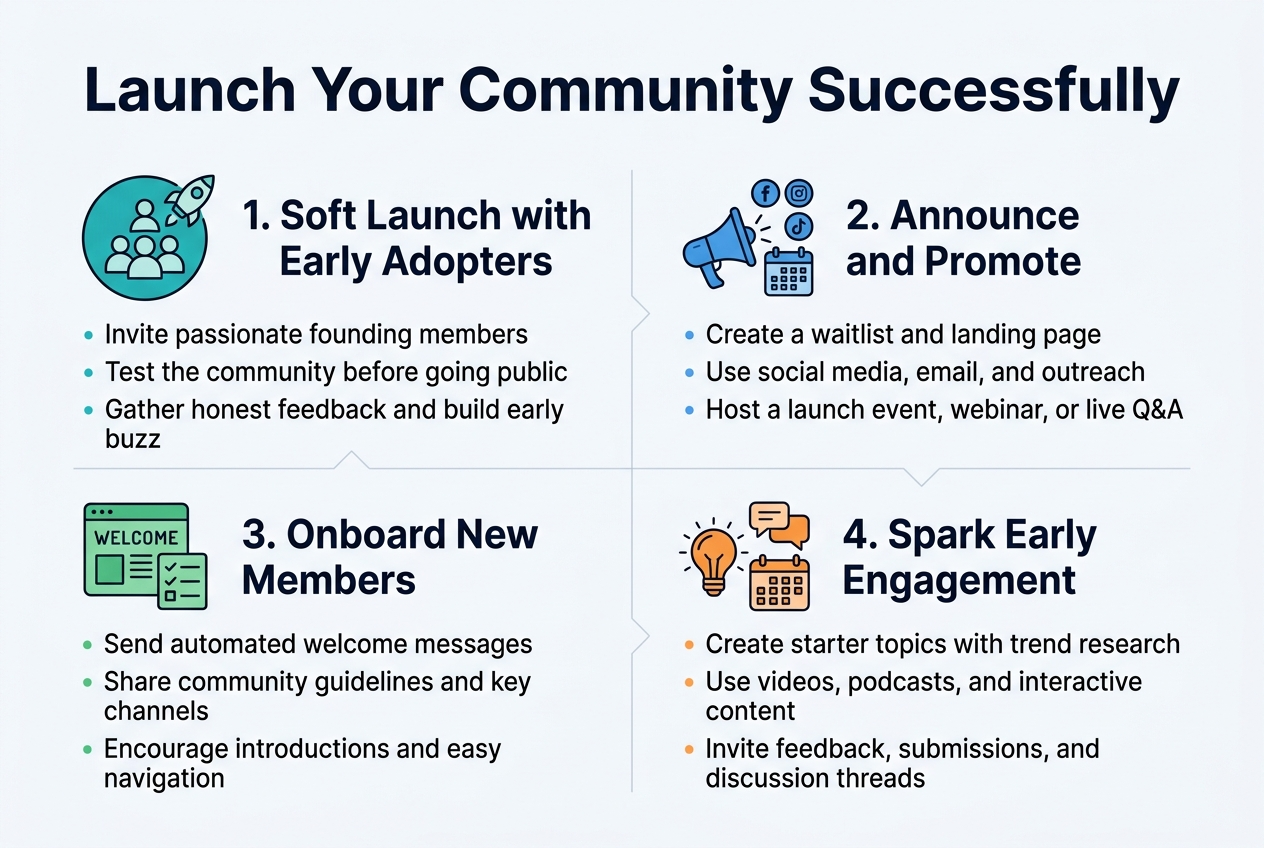
Execute Soft Launch with Early Adopters
Begin your launch with a carefully selected group of founding members who are passionate about your community’s topic and possess expertise in the field. This soft launch acts as a dress rehearsal, allowing you to test the waters and identify any issues before going fully public. Your founding members serve as your dream team, providing honest feedback and helping shape the community’s vision while generating initial buzz through their experiences.
Create Comprehensive Announcement and Promotion Strategy
Build excitement leading up to your public launch by creating a waitlist for interested potential members and developing a landing page that highlights your community’s value. Utilize social media platforms, email marketing, and targeted outreach to connect with influencers and participate in relevant online communities. Consider hosting a virtual or in-person launch event with exclusive content, webinars, or live Q&A sessions to mark your community’s debut and generate maximum engagement.
Provide Member Onboarding and Tutorial Resources
Develop a clear onboarding process that introduces new members to your community through automated welcome messages explaining your community’s purpose and key channels. Create comprehensive community guidelines that provide a framework for expected behavior and make moderation easier. Ensure your onboarding highlights important topics, encourages introductions in designated channels, and helps members understand how to navigate and engage effectively within your space.
Generate Initial Engagement and Discussion Topics
Create valuable starter content that resonates with your target audience by researching topics using tools like Google Trends and Reddit. Experiment with various content formats including videos, podcasts, and interactive elements while optimizing with relevant keywords for discoverability. Involve your audience in content creation by asking for feedback and inviting submissions, fostering a sense of belonging and investment before your full launch while establishing discussion threads and member recognition opportunities.
Foster Long-term Growth and Engagement
![Create a clean, professional full-bleed infographic in a 3:2 aspect ratio with a modern blue, teal, and white color palette, subtle gray accents, and bold sans-serif typography. Use a wide horizontal layout with four evenly spaced sections across the page, each in a distinct colored block with icons. Place a large bold title at the top center: "Foster Long-term Growth and Engagement". Add a smaller subtitle below it: "Implement Strategies to Encourage Active Participation".
Section 1 on the left: heading "1. Encourage Active Participation" with a large icon of a chat bubble and cursor. Include a prominent stat callout: "15% Active Participation" and a smaller line beneath: "85% Silent Observers in a 120-Day Period". Add three small visual examples in speech bubbles: "Take a picture of your view right now", "What's your biggest challenge with [relevant topic]?", and "Polls • Reactions • Yes/No Questions".
Section 2 left-center: heading "2. Build Networking and Peer-to-Peer Support" with an icon of connected people in a circle. Include four short stacked items with check icons: "Weekly themed threads", "Challenges", "Workshops", "Member meetups". Add a small subline: "Turn participation into collaborative support".
Section 3 right-center: heading "3. Track Performance Metrics and Member Feedback" with an icon of a dashboard, line graph, and magnifying glass. Show a mini metric list with number badges: "Login frequency", "Discussion threads per active member", "Response times to posts", "Growth velocity", "Member source quality", "Retention rates". Add a feedback icon cluster and the text: "Surveys • Feedback forms • Casual conversations".
Section 4 on the right: heading "4. Continuously Optimize with Data" with an icon of a gear, upward arrow, and analytics chart. Include three short lines with alert-style markers: "Detect declining visit frequency", "Re-engage at-risk members", "Use predictive analytics for churn prevention". Add a bold results callout box at the bottom right with large numbers: "124% more community logins", "50% more discussion activity", "53% more contributors".
Use clear hierarchy, large readable text, simple flat vector icons, thin divider lines between sections, and balanced spacing. Keep all text exactly as written, with no extra text.](https://gravitywrite.sgp1.digitaloceanspaces.com/blog/img_4250270_2026_04_07_11_36_47.jpg)
Implement Strategies to Encourage Active Participation
Now that your community has launched successfully, fostering ongoing engagement requires strategic approaches to transform lurkers into active contributors. Research shows that only 15% of community members actively participate within any 120-day period, meaning 85% remain silent observers consuming content without contributing. Implement conversation starters like “Take a picture of your view right now” or “What’s your biggest challenge with [relevant topic]?” to create authentic connections. Use low-barrier engagement opportunities such as polls, reactions, and simple yes/no questions that make participation feel effortless for hesitant members.
Build Networking and Peer-to-Peer Support Opportunities
With active participation strategies in place, focus on creating structured networking opportunities that facilitate meaningful member connections. Host weekly themed threads that give members something to anticipate and create natural conversation cycles within your community. Organize social events like challenges, workshops, or member meetups that encourage peer-to-peer interactions and knowledge sharing. These networking initiatives transform individual participation into collaborative support systems, where members become invested in each other’s progress and success.
Track Performance Metrics and Member Feedback
Previously established networking opportunities require careful monitoring through key performance indicators that reveal true community health. Focus on engagement metrics including login frequency, discussion threads per active member, and response times to posts rather than just total member count. Track growth velocity, member source quality, and retention rates to understand community momentum. Implement regular surveys using feedback forms and casual conversations to gather member insights about their experiences and preferences, ensuring your community continues meeting their evolving needs.
Continuously Optimize Based on Data and Community Input
With comprehensive metrics in place, leverage member feedback and performance data to refine your community strategy continuously. Identify early warning signs like declining visit frequency or lack of response to outreach attempts, then implement proactive follow-up systems to re-engage at-risk members. Use predictive analytics to anticipate potential churn and offer personalized support or incentives. Organizations that integrate data-driven optimization strategies see remarkable results—124% more community logins, 50% more discussion activity, and 53% more contributors through continuous refinement based on member input and engagement patterns.
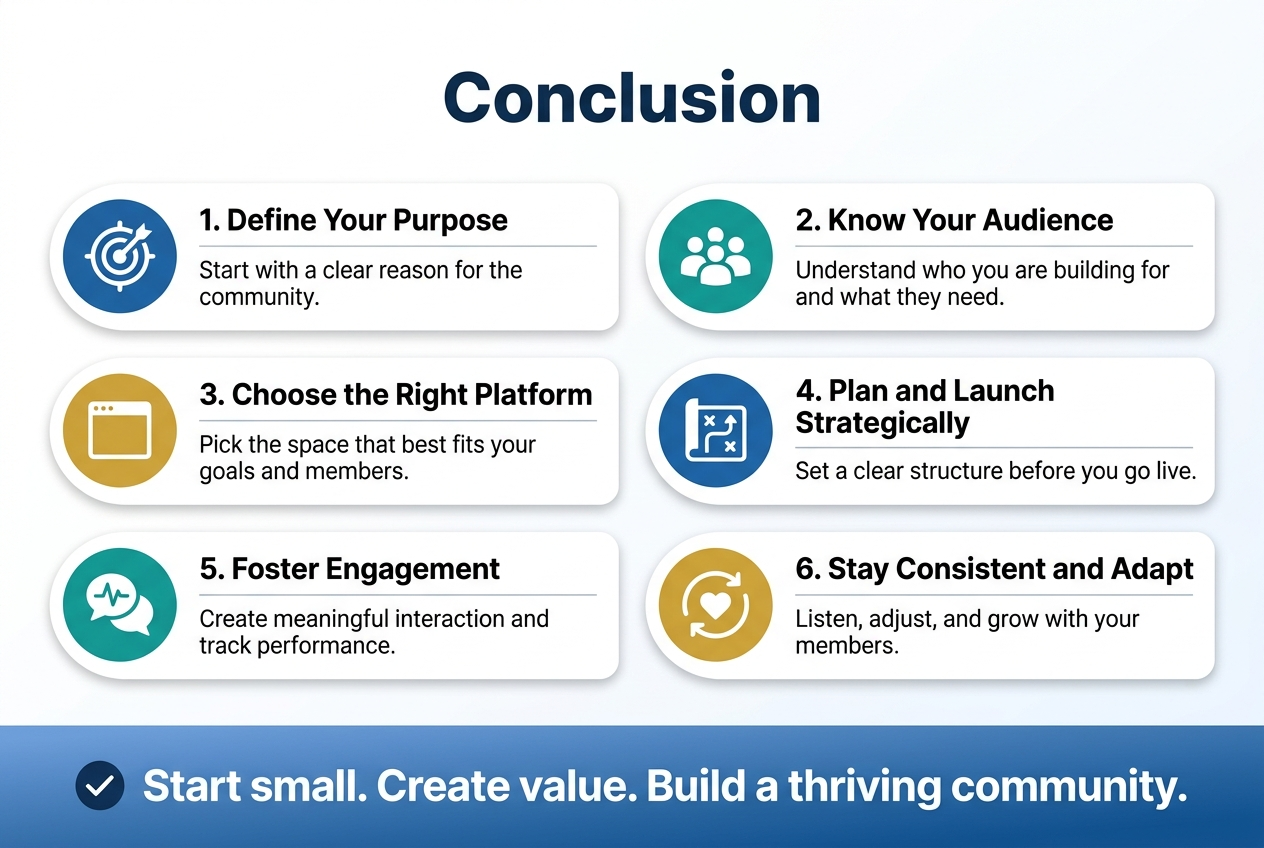
Building an online community doesn’t have to be overwhelming when you break it down into manageable steps. By defining your purpose and understanding your target audience, choosing the right platform, planning a clear structure, and launching strategically, you’re setting the foundation for meaningful member connections. Remember that fostering engagement and monitoring performance are ongoing efforts that will help your community grow and evolve with your members’ needs.
The key to long-term success lies in consistency, listening to your members, and staying adaptable as your community matures. Start small, focus on creating value for your members, and don’t be afraid to adjust your approach based on feedback and performance metrics. With dedication and the right strategy, you’ll create a thriving online space where your members feel connected, supported, and eager to participate.